Return to home page
There's more than one article on this page - scroll down for the history of relief printing.
-=-=-How Relief Printing Works:-=-=-
A flat faced block of any solid material (usually wood or linoleum) is first carved, then rolled over with a thick ink. The roller deposits ink on the intact, higher surfaces, and passes over the carved areas without touching them. For example, if black ink and white paper are used, carved lines will appear white. The ink is then transferred to paper or fabric by hand or with a printing press.
-=-=-=-My Process:-=-=-=-
(This section is best viewed on desktop)
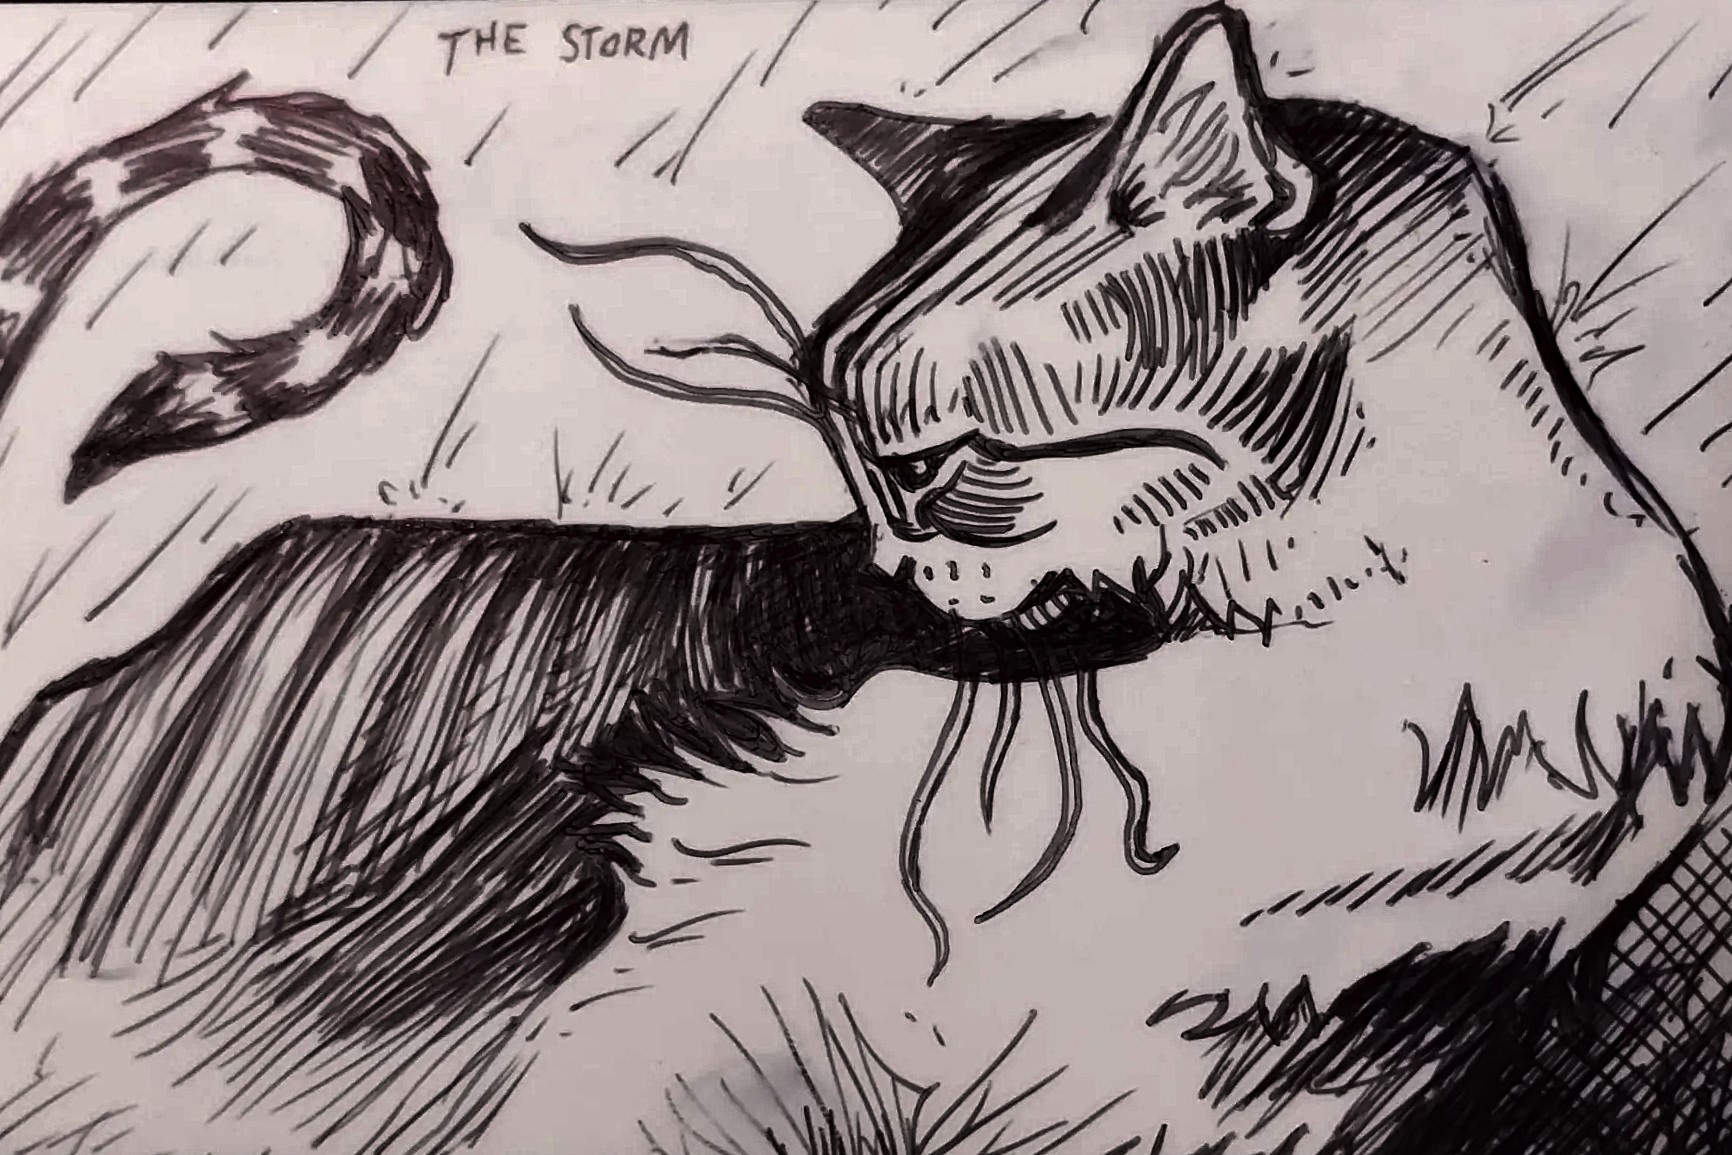
- The block (I usually use vinyl blocks) is first sketched on with ink. I usually change the design during the carving stage, so the end result is a bit different.
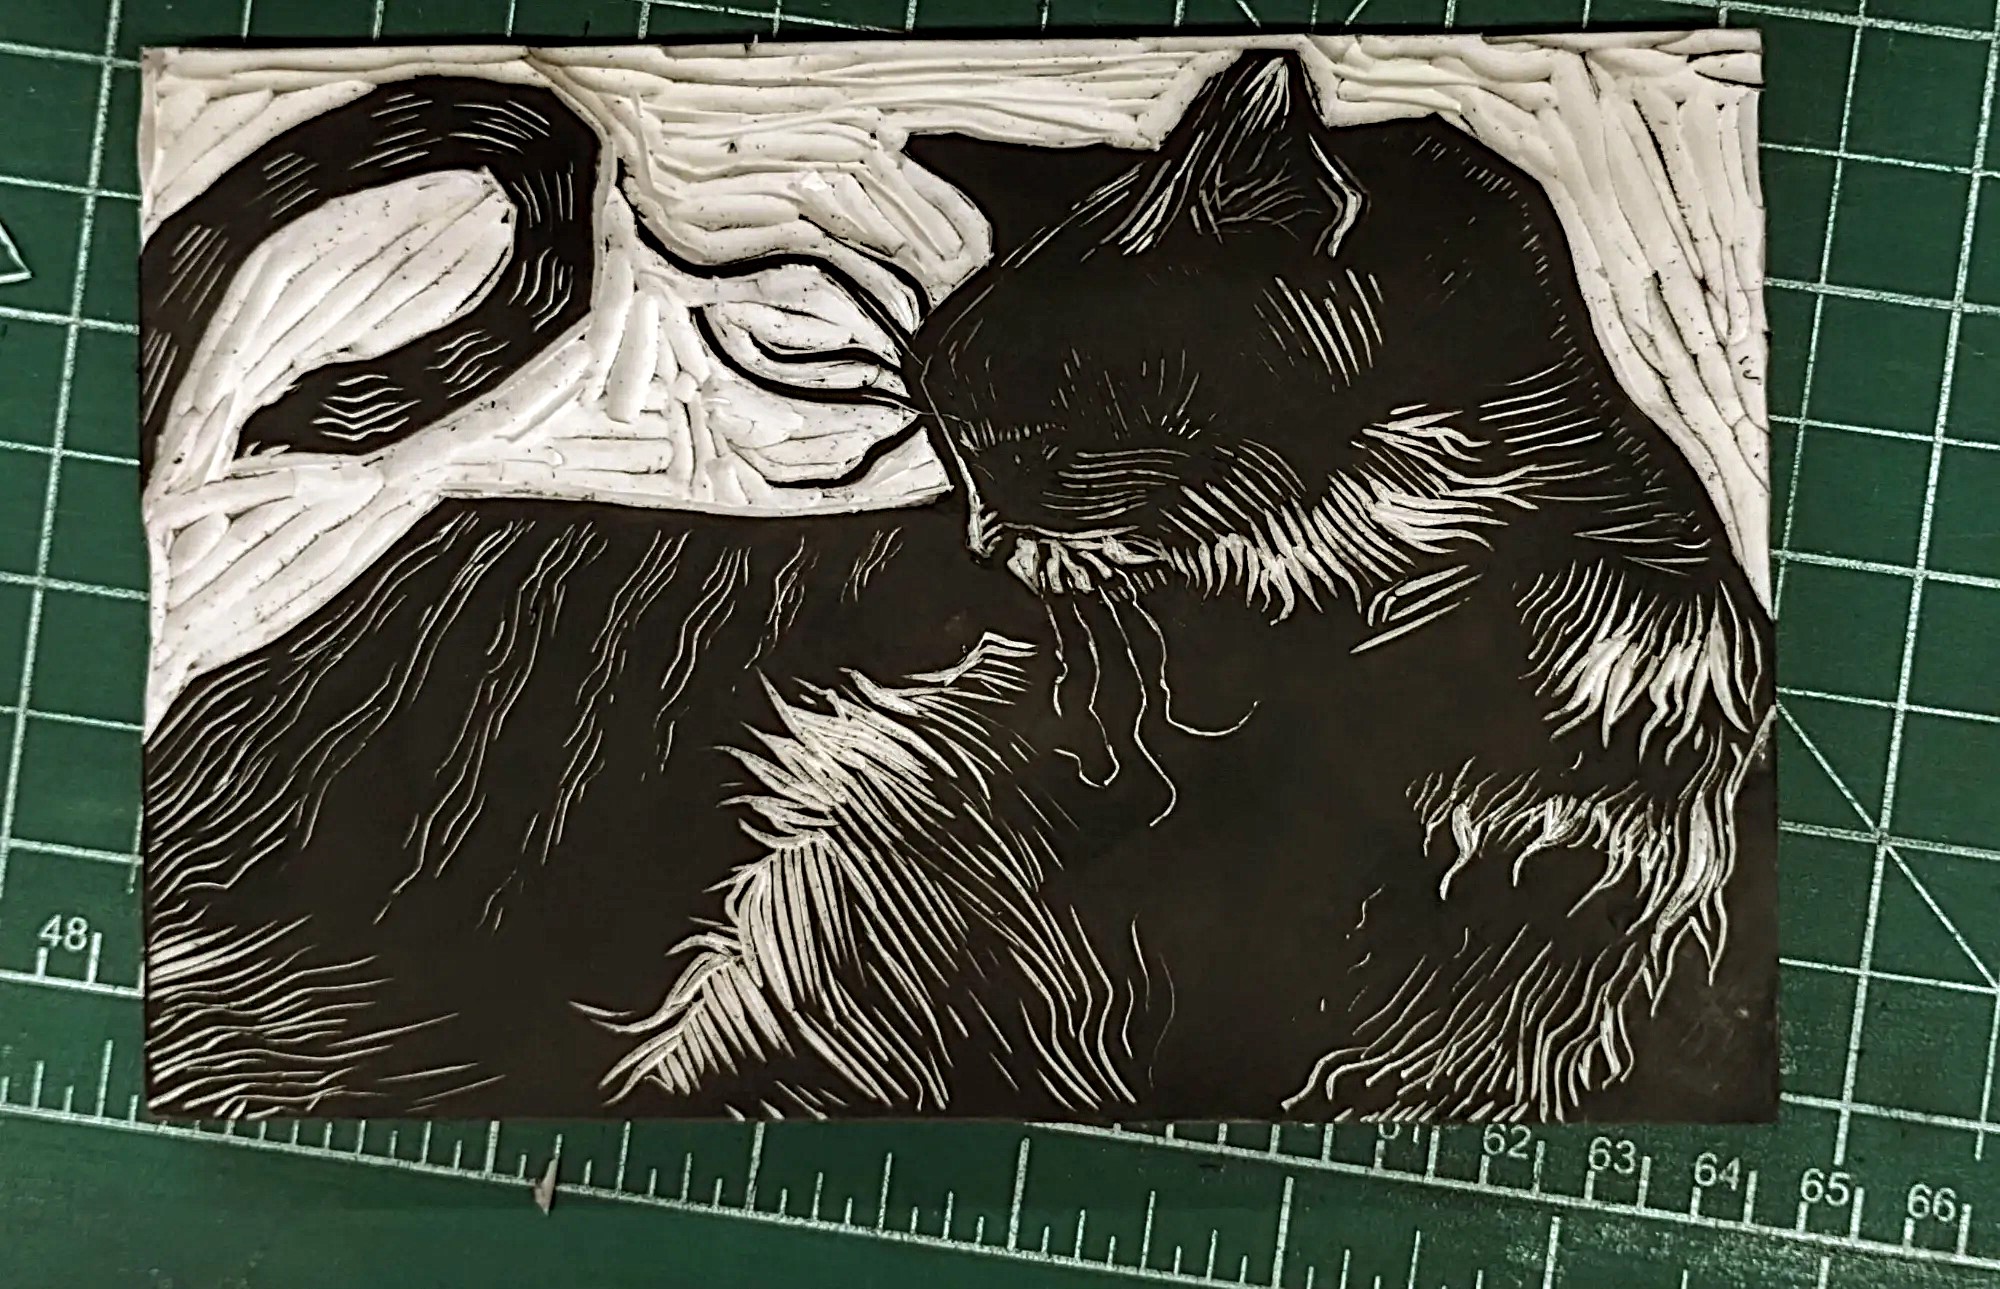
- Next, I carve out all the areas that I intend to be white. I first stain the block gray to make carved lines more visible. Below is how it looks after being carved and rolled with ink.
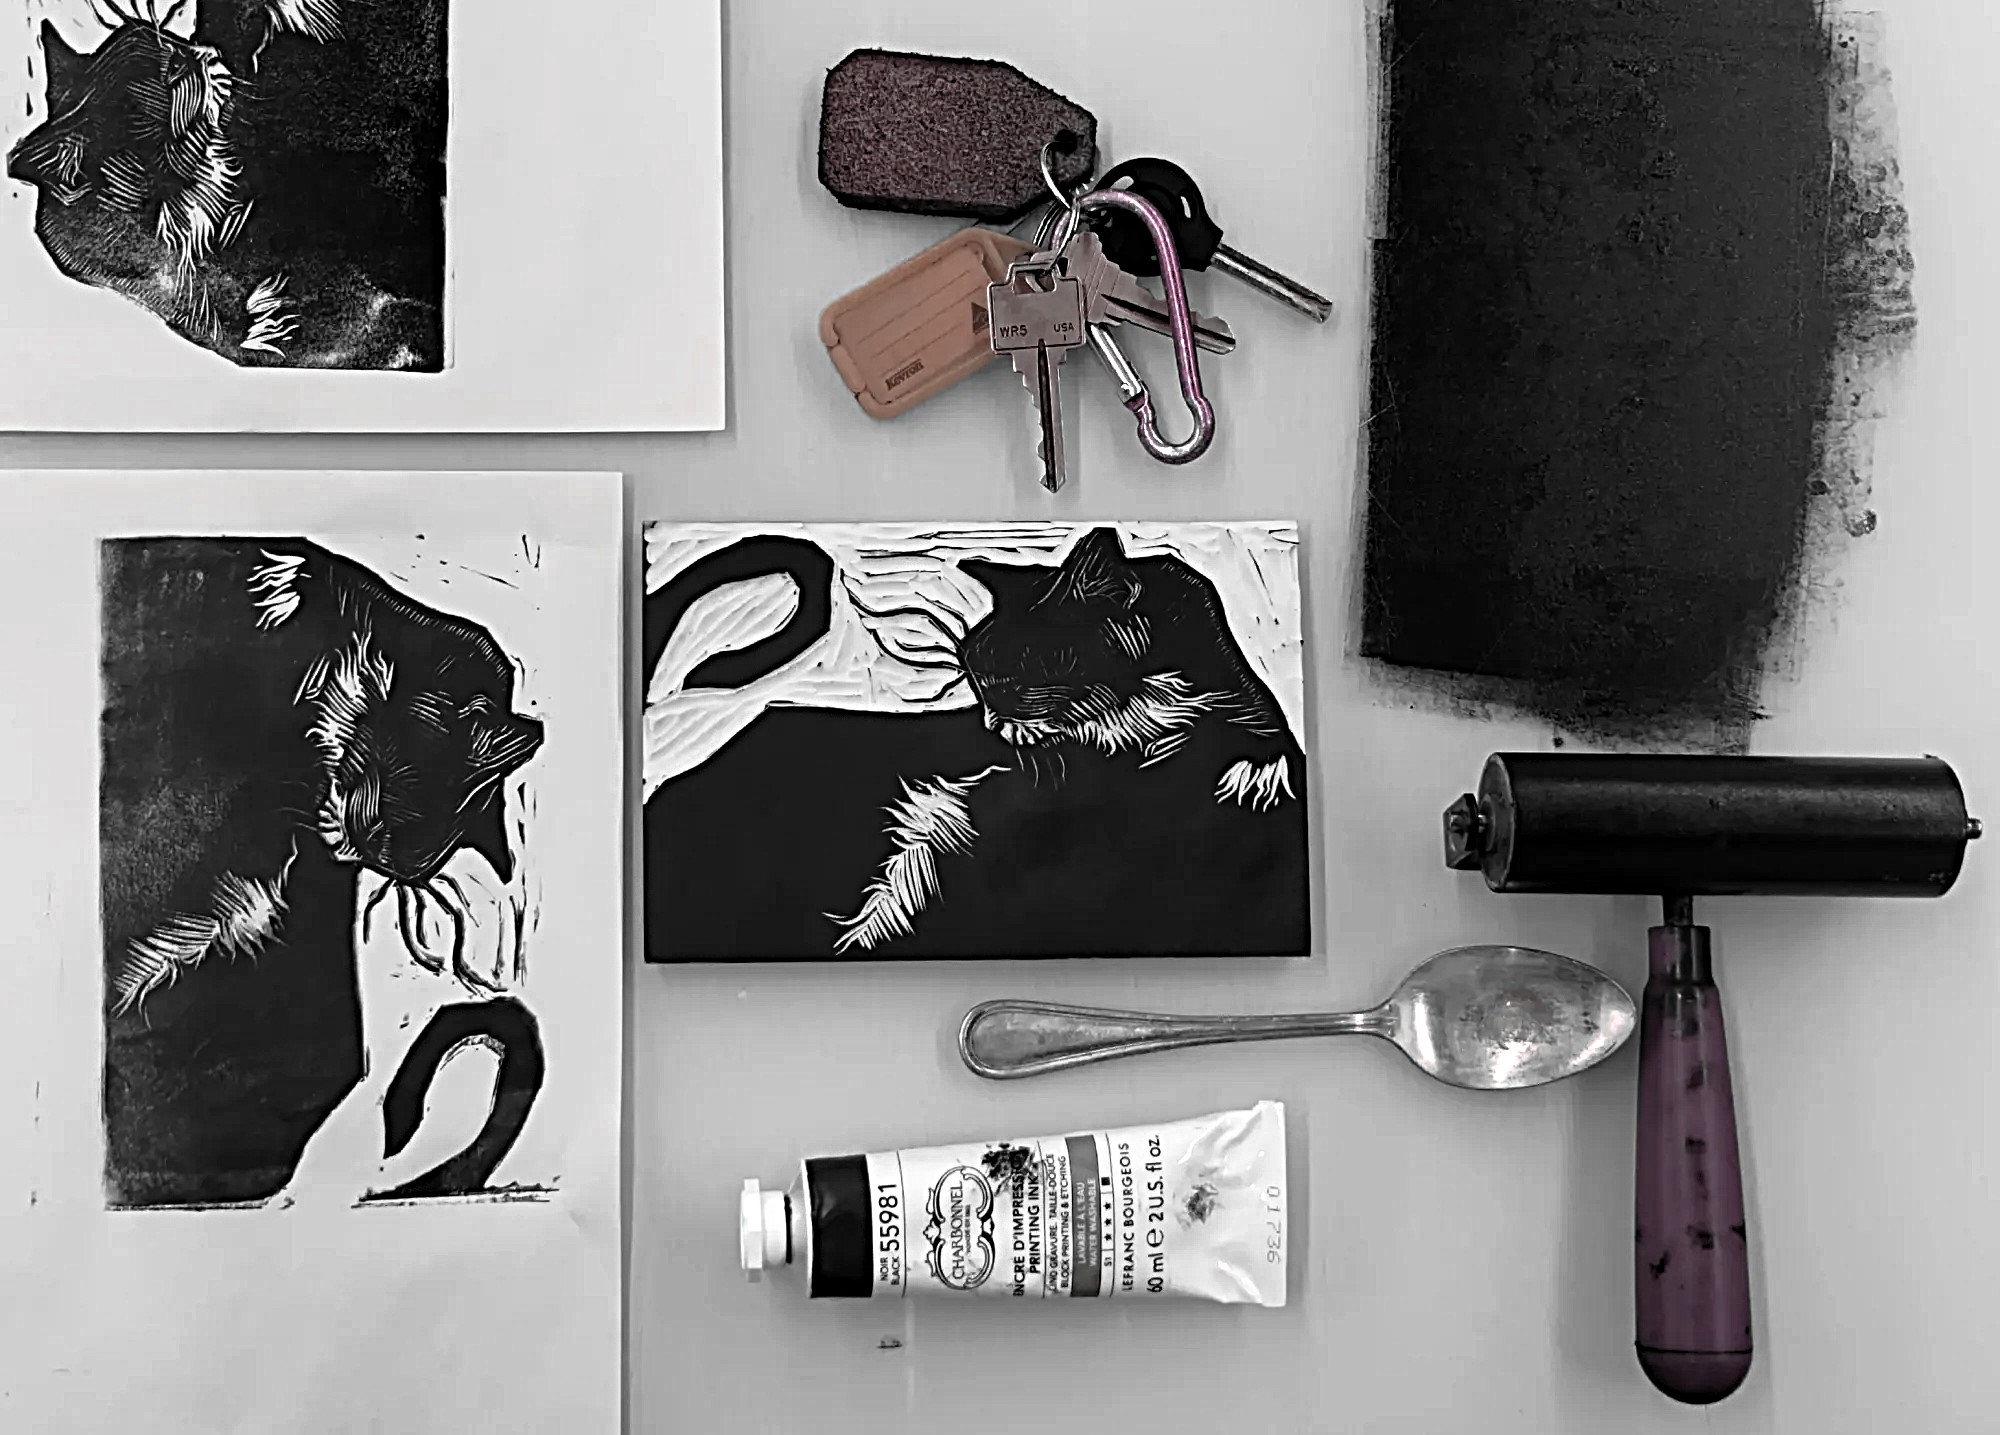
- Test prints are made to check for mistakes (on the left in the image below), followed by more carving.
When I'm satisfied with the artwork, I print the final edition on mulberry paper. To see a long form, silent video of my printing process, click here.
After the edition is printed, each print is numbered, titled, and signed before being matted and packaged.
-=-How Coloured Reduction Prints are Made:-=-
Reduction prints are made by progressively carving more details between layers of colour, and printing each over the same spot, carefully lined up. The block is destroyed in the process, so editions printed like this are usually small. A limitation of this process is that subsequent layers have less and less material to work with, and can't add detail to areas that have already been carved away.
-
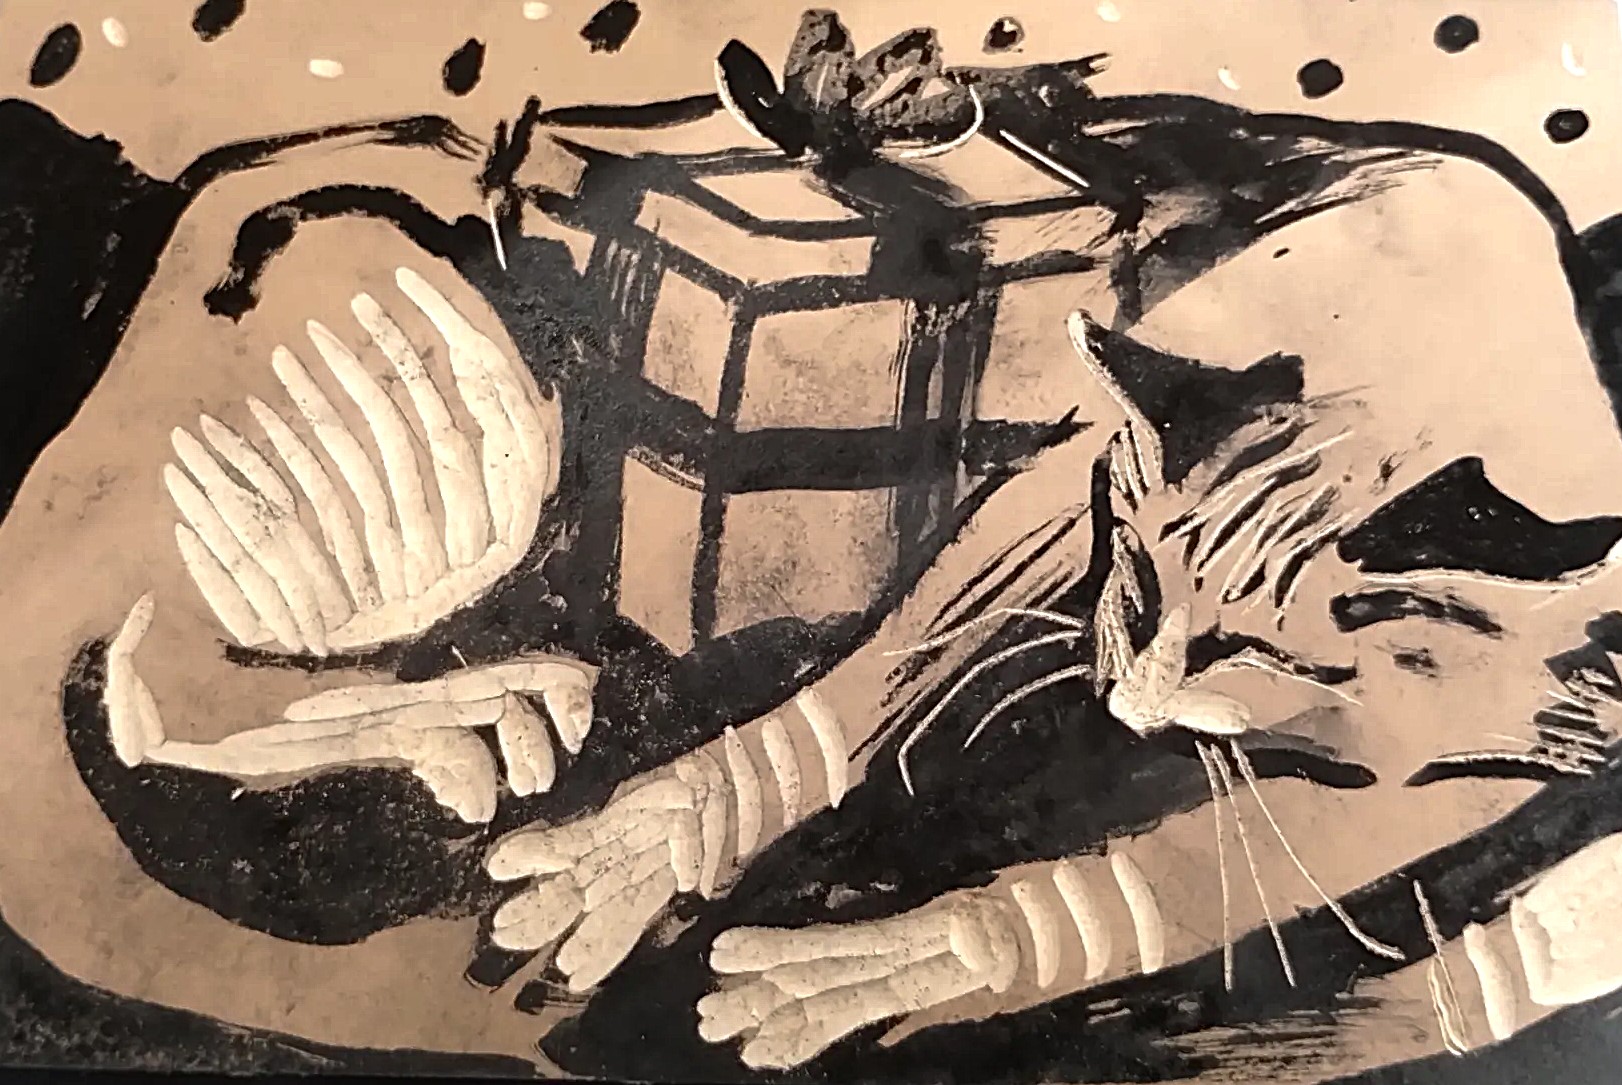
-
The initial sketch is made on the block. Only the brightest highlights are carved out first, which will appear white.
-
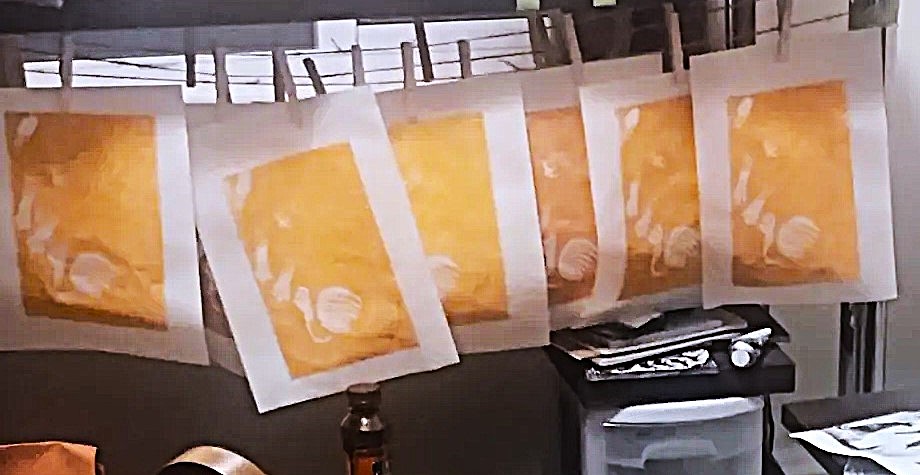
-
The first layer is orange. The carved areas reveal the white of the underlying paper. Not much detail is discernable at this stage.
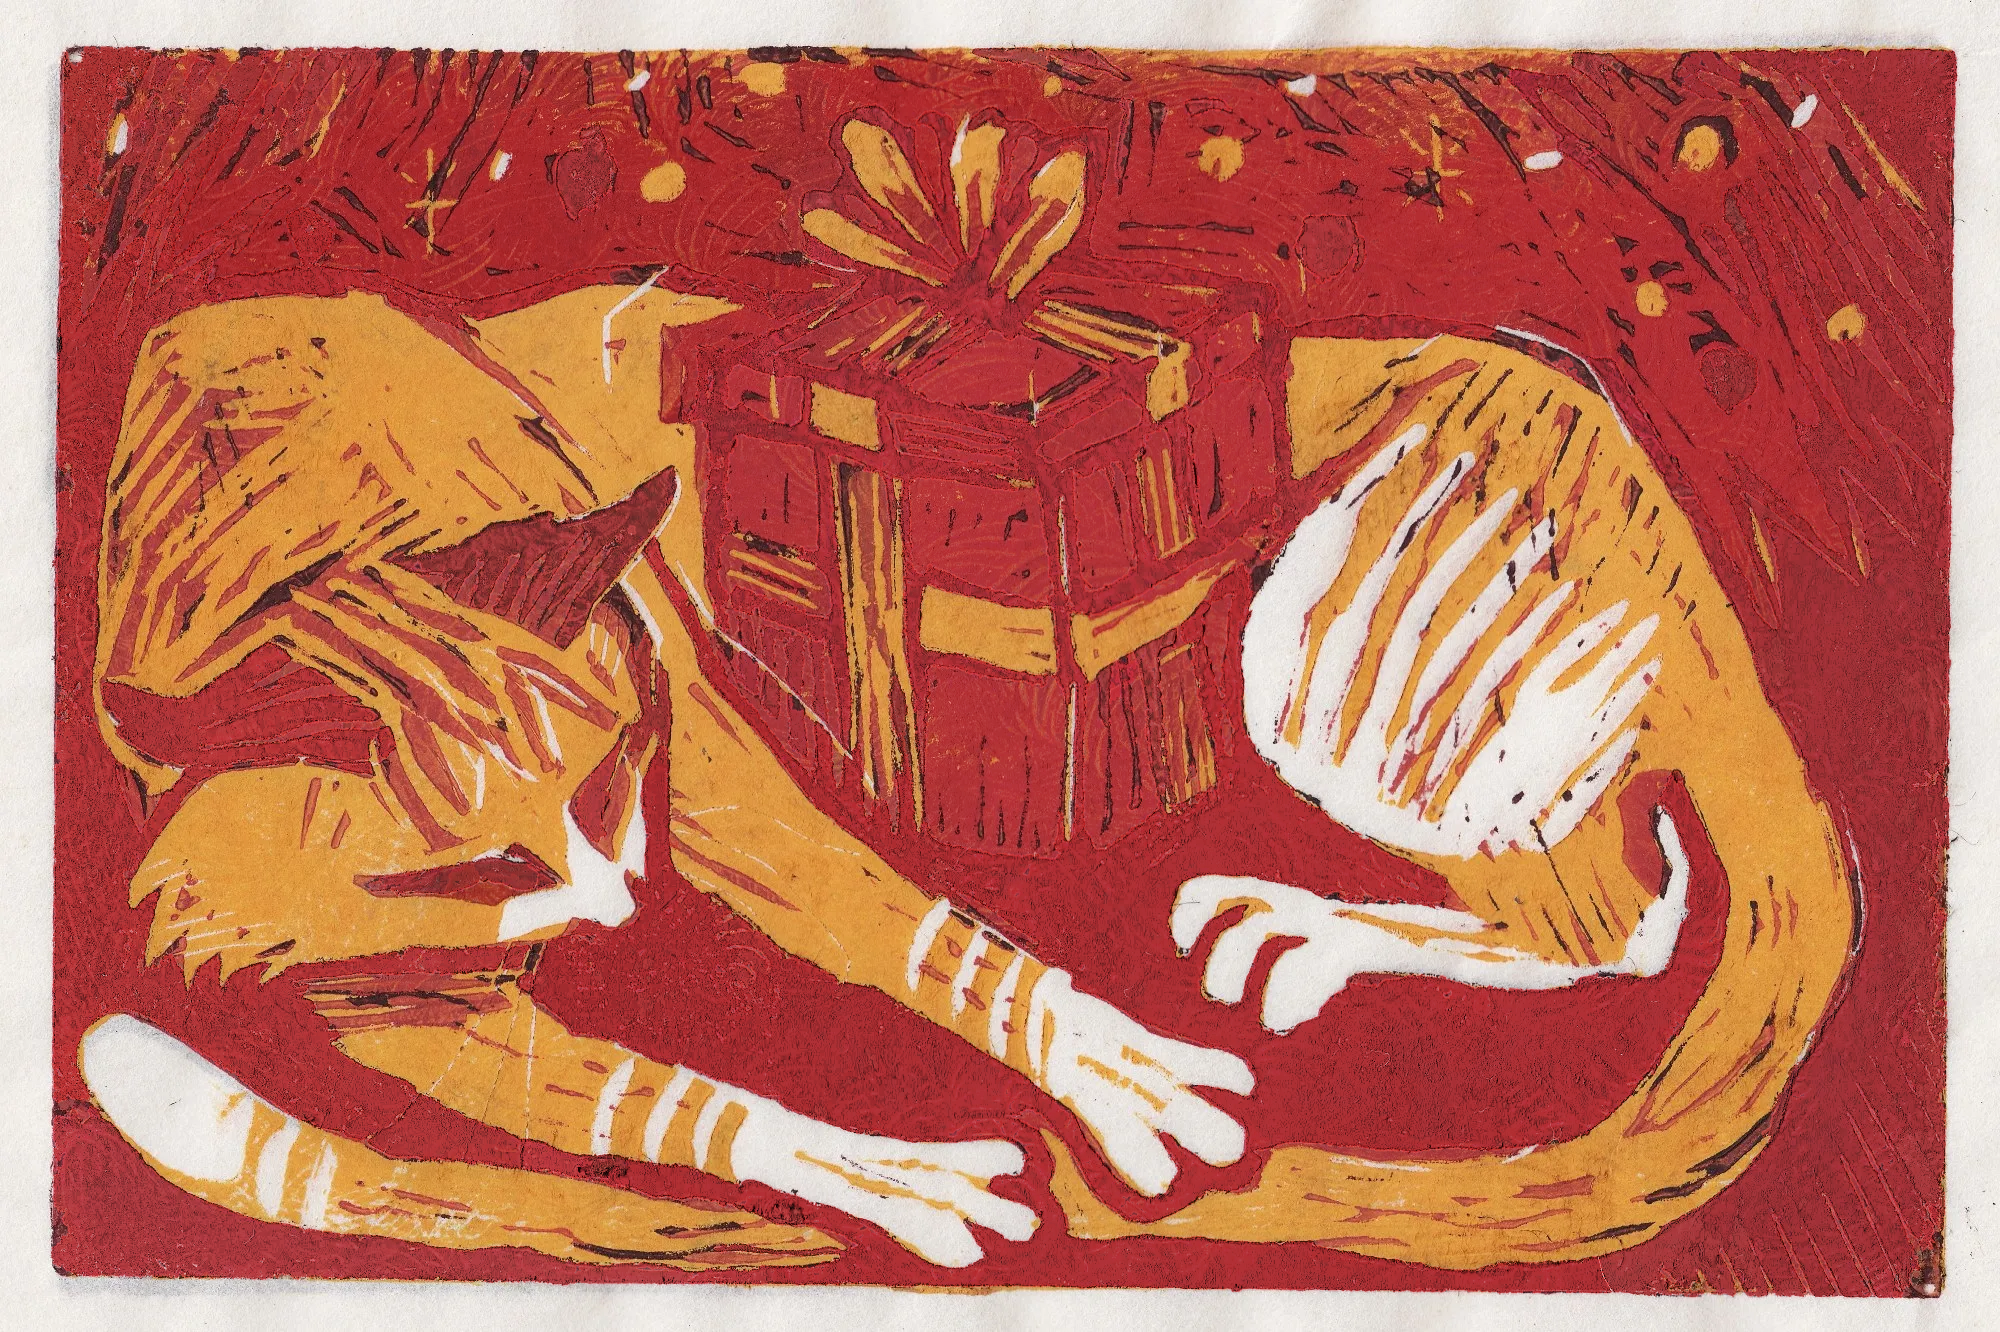
- The second layer is red. Most of the details were established at this stage. The carved areas reveal the orange of the previous layer. Note- I didn't take a photo at this stage, so I recreated how it looked in photoshop.
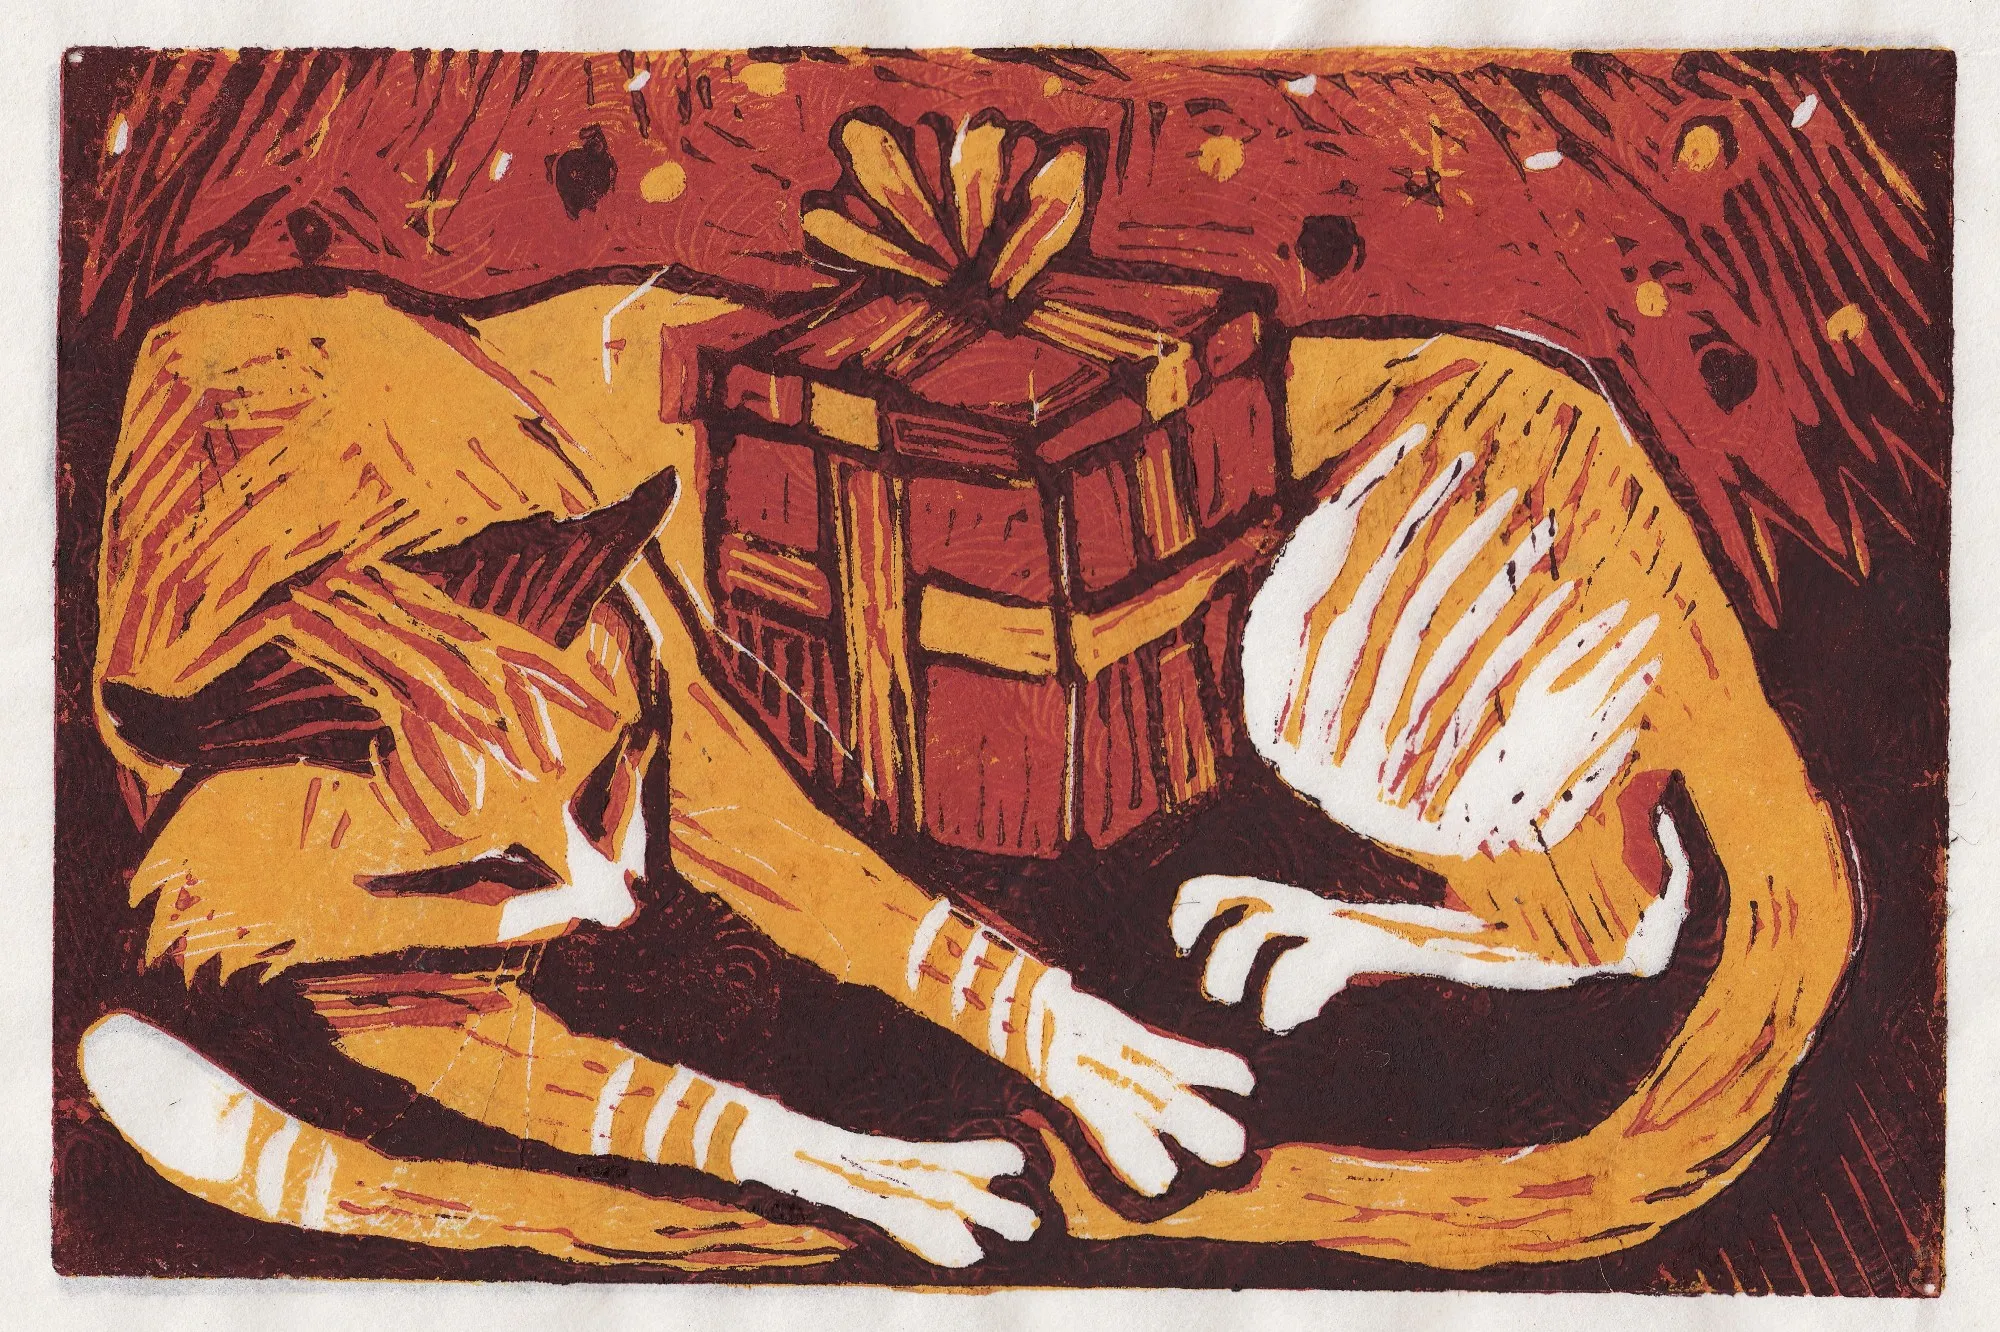
-
The final layer is a very dark purple. It defines the darkest shadows and edges. The carved areas reveal the red of the previous layer.
Oliver and the Gift, reduction linocut, 2025, (c) Zachary Carr
A QUICK HISTORY OF RELIEF PRINT
Relief printing is VERY old news...
...and the oldest news was printed with this very method, over 400 years ago!
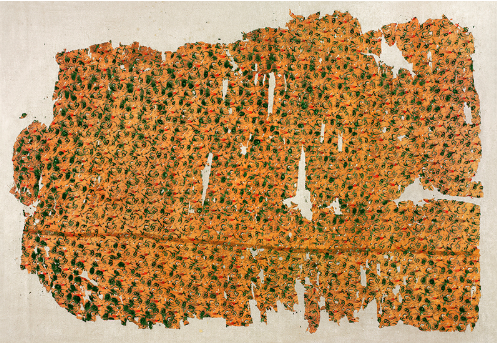
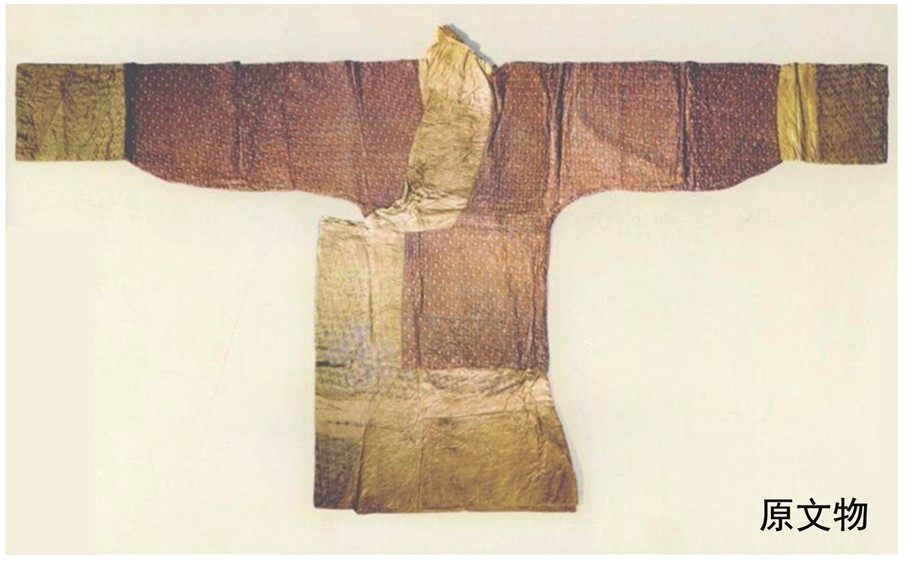
The technique itself is even older. Relief printing, or block printing, was the original form of printing identical text and images with ink. It likely evolved from carved seals and stamps used for clay and wax. It was invented in China as a method of patterning textiles, but it's unknown exactly when. It would have been some time before the oldest surviving block prints were created. The oldest known prints might be the patterns on the burial shroud and silk robe of Lady Dai, but I couldn't find a clear source on this.
The webpage of the museum where the robe is held states that they were printed as well as painted. I emailed the museum for more info, and will update this if they reply. So, if these textiles truly are printed, then printing is at least as old as Xin "Lady Dai" Zhui, who lived from 217 to 168 BCE. Which would mean that printing is older than paper itself, which was invented about a few hundred years later (again in China).
These are the most detailed pictures I could find of the robe and shroud:
-
If these aren't block prints, then the earliest evidence of printing would be one of the examples mentioned in this wikipedia article.
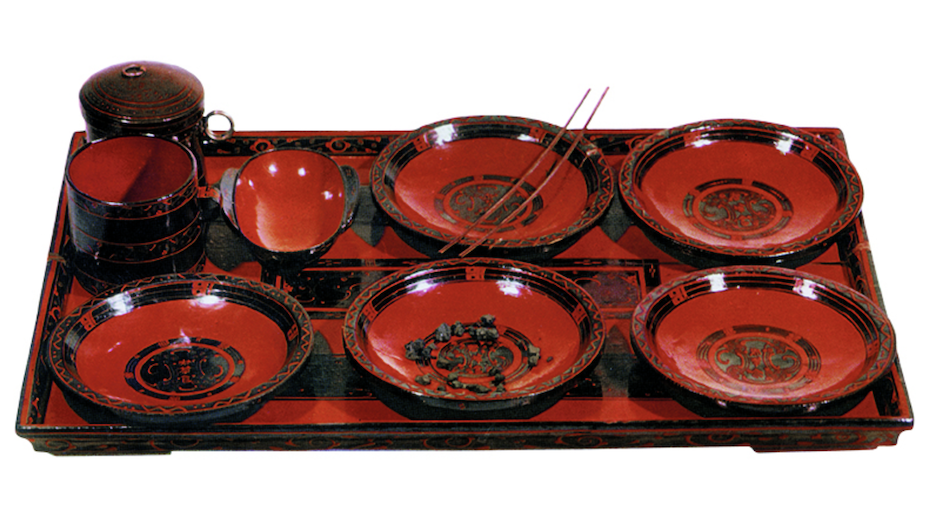
PS: the lacquerware found in her tomb is unbelievable.
Printing was first used for patterns like those seen above, but was soon applied to copying text. Relief printing works well enough for printing text once a block is carved, but individually carving every letter is time consuming and mistakes are permanent. It is laborious and slow, but still produces a large number of copies faster than copying text by hand. An improvement to printing text arrived in the 1040s, again in China, and is credited to a man named Bi Sheng. He invented what later became known as movable type: individual blocks for every character, able to be rearranged freely. The surface of a printing block must be level, which presented a problem for the ceramic pieces used by Sheng. He had a creative solution, he arranged the pieces on heated wax, and flattened them into it with a board before the wax hardened, making a level and solid printing block.
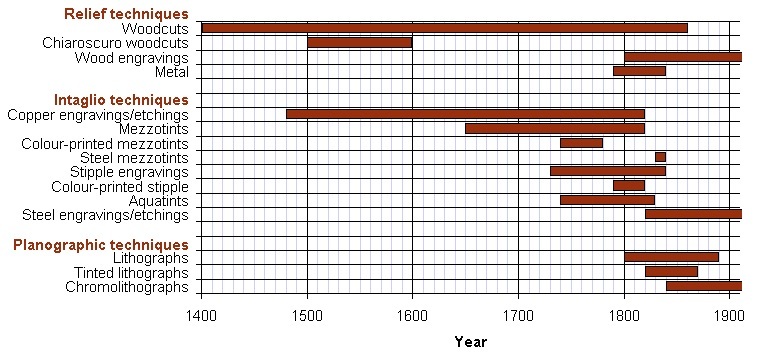
400 or so years later, in what is now Germany, movable type was re-invented by Johannes Gutenberg. His version used metal letter pieces made in moulds, which all had a consistent height. Books made with movable type combined with illustration blocks were known as "block books", at first. They overtook hand copied manuscripts in popularity, and became the standard way of making books for many hundreds of years until it was rendered obsolete by newer methods like lithography and inkjet printing relatively recently (see timeline below).
Today, block printing's practical utility survives in the form of stamps. Relief printing is otherwise still practiced today as part of an art form called "printmaking", which encompasses all of the historic and handmade printing techniques.
The timeline below shows the rise and fall of different printing methods over time. Click on the image for the source, it's from an article that has more information and an overview on each printing method.
I found a cool website while researching that aggregates articles (of varying historical accuracy) on printing developments around the world, arranged in a timeline.
Click here to visit that website.
(work in progress, more sources and info will be added in the future)
Return to home page